-
-
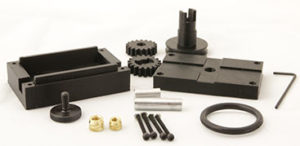
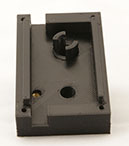
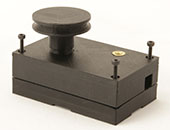
Print winder components, collect hardware.
-
-
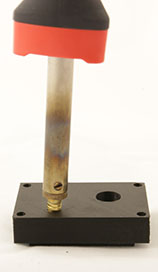
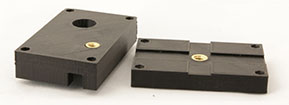
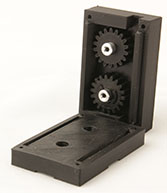
Use soldering iron to inset M4 heat-set insert into the winder front piece, and 10-32 heat-set insert into the winder back piece.
-
-
-
-
-
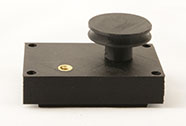
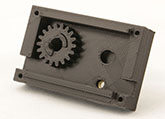
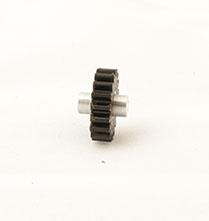
Snap control gear onto knob end.
-
-
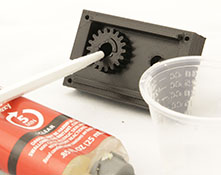
Mix epoxy, use a brush to lightly coat the inner surface of the knob and gear.
-
-
Fully insert 1″ shaft into knob and gear assembly; there should be about 1/8″ protruding.
-
-
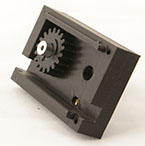
Insert 9/16″ shaft into stabilizing gear.
-
-
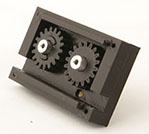
Insert gear/shaft assembly into winder front piece.
-
-
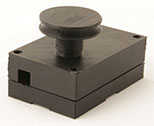
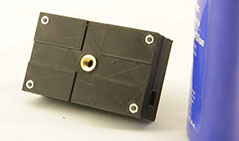
Line up holes and slots on the winder back piece with the protruding shafts and tabs on the winder front piece, and close winder.
-
-
-
Insert M2 bolts through the winder front piece.
-
-
After applying a little thread lock, insert M2 hex nuts into the back piece and tighten.
-
-
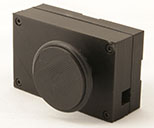
Slip rubber ring onto the control knob.
-
-
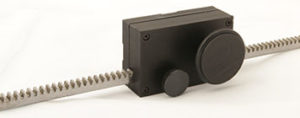
Slide rack into winder. manually run the winder back and forth until it files down any protrusions and slides smoothly. Screw in lock knob to desired pressure.